Tutorial: How to Make a Chiffon Practice Skirt
A simple chiffon circle skirt is an essential for calisthenics or dance, and creating one from scratch can be a fun project! This skirt is approachable for any skill level, and we have all the materials you'll need linked down below.
Plus, scroll down for our handy circle skirt calculator, which makes patterning and layout a breeze.
Watch Video
Watch as Renée walks you through how to construct a chiffon practice skirt, or read the written instructions below.
How to make a Chiffon Practice Skirt
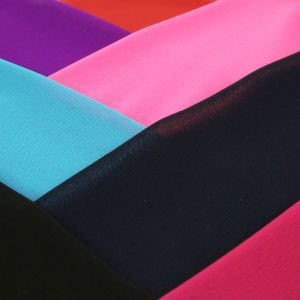
Here's how to construct a simple circle skirt out of chiffon. Our skirt will be made out of 1½ chiffon circles (3 half-circles), and feature an elastic waistband without a casing.
You Will Need
Materials:
- Chiffon Fabric - Use our calculator below to find out how much you need
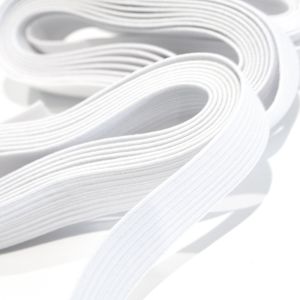
- Flat Elastic for waistband
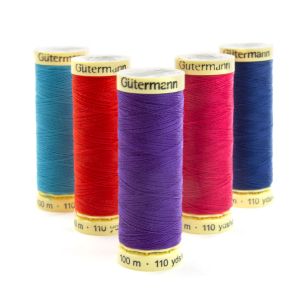
- Sewing Thread
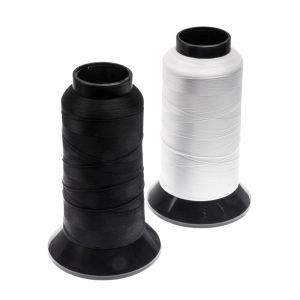
- Woolly Nylon Overlocking Thread (optional)
Tools & Supplies:
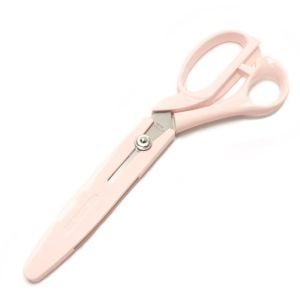
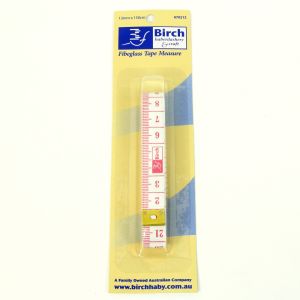
- Tape Measure, Scissors, Pins & Pattern Paper
- Sewing Machine with ball-point needle
- Overlocker (optional)
- Tear-away Hem Guide Tape (optional)
Create your pattern
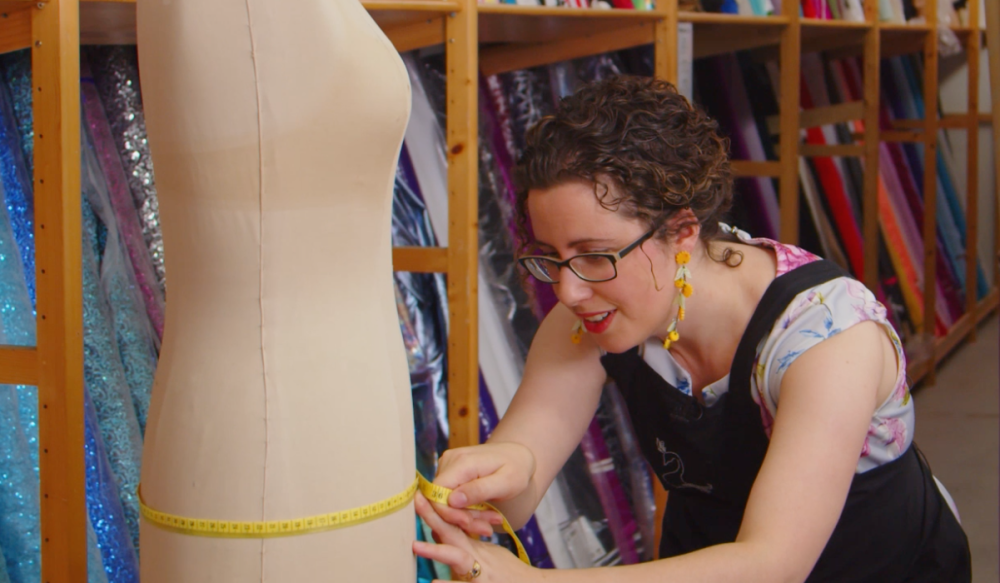
The first step is to create a pattern for your skirt pieces, so it's time to start measuring!
You'll need to decide on the length of your skirt, and and also measure the hip circumference of your skirt's wearer. We're measuring the hips instead of the waist because our chiffon doesn't stretch, but don't worry - the elastic waistband will take care of gathering any slack.
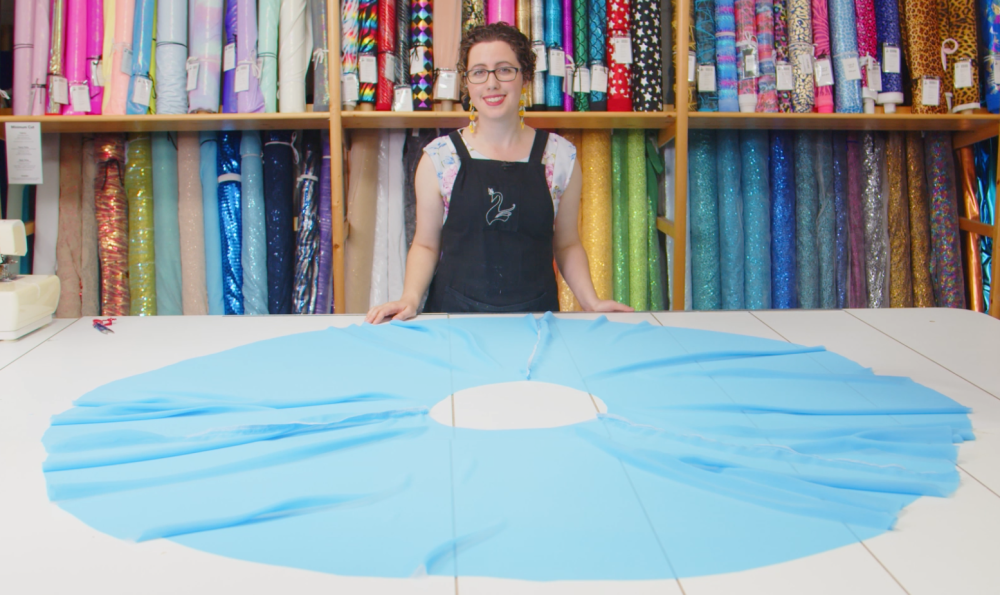
Next, we'll lay out the pattern. For this, you'll need to know how many half-circles you're using for the construction (we'll be using 3), and then calculate your hip radius. The calculation for hip radius is: hip measurement ÷ (number of half circles × π), but we've got a handy calculator below that will do all the maths for you.
To lay out your pattern, draw a quarter-cirle where the length of each straight side is the skirt length + hip radius. We're planning on cutting our fabric on the fold, so we only need to pattern one quater-circle to create each half-circle.
On the inside corner, draw another quarter circle whose straight sides are the length of your hip radius - this area will become the waist in your final skirt.
Don't forget to add about 1½ cm of seam allowance.

Create the skirt
Using your newly-created pattern piece, cut out your three half-circles, and sew them together along the side seams to create the circle skirt. Sew the panels together with a straight stitch, and then finish the seam with an overlocker or zig-zag stitch.
Then, hem the bottom of the skirt. We recommend using our Tear-Away Hem Guide Tape for this, as it makes creating a rolled-edge hem a breeze on difficult fabrics like chiffon, but you can use any method you like. For instructions on how to use the tape, click here.
Construct and attach the waistband
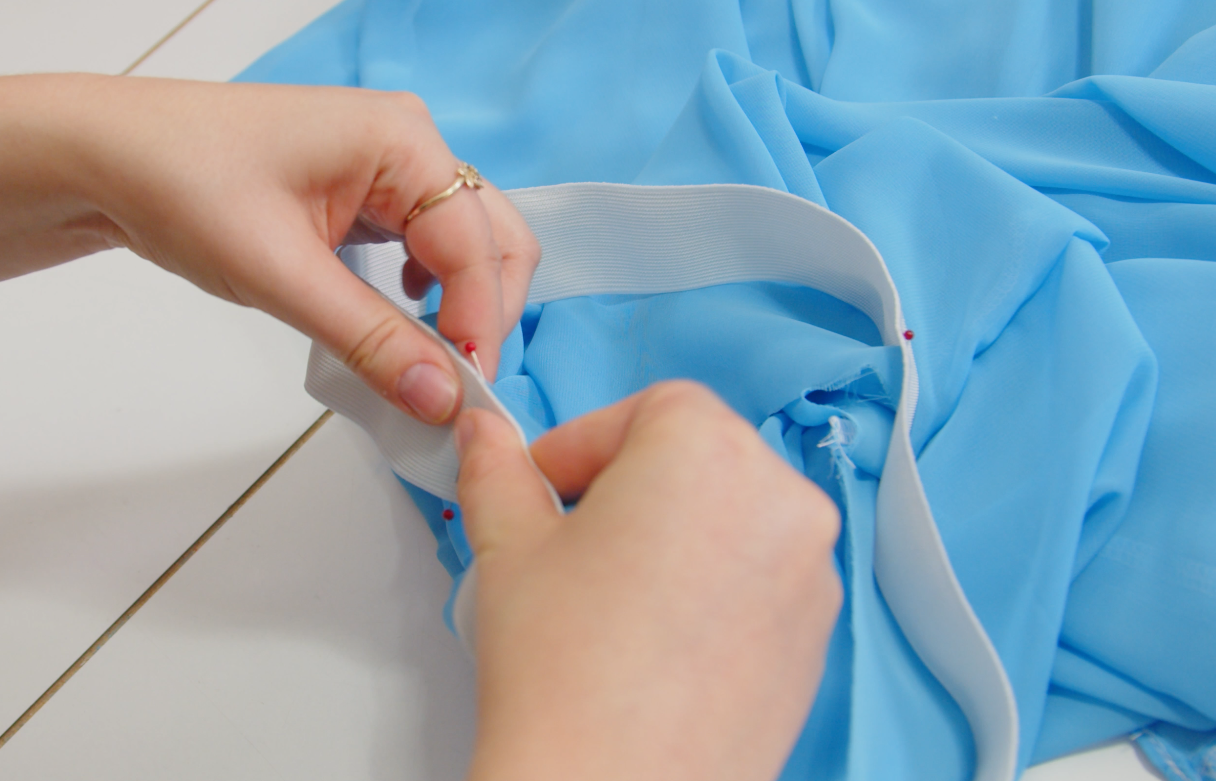
There are many different types of waistband that you could create, but we're going to construct a simple elastic waistband. For this, we'll need a waist measurement (as opposed to the hip measurement from earlier).
Cut a piece of flat elastic to your waist measurement - adding a cm or so for seam allowance - and sew into a loop.
To attach our waistband, we're going to first mark out four points, like compass points, with pins on both the skirt waist and the elastic waistband. Then, pin the waistband and skirt together at each of the points, so they all match up. This helps keep your skirt lined up with the elastic, ensuring your waistband goes on evenly.
Sew the elastic waistband to the skirt using an overlocker or zig-zag stitch.
Tip: If you're using an overlocker, swap the last two threads with Woolly Nylon thread for some extra stretch.
Don't forget to stretch the elastic out as you sew!
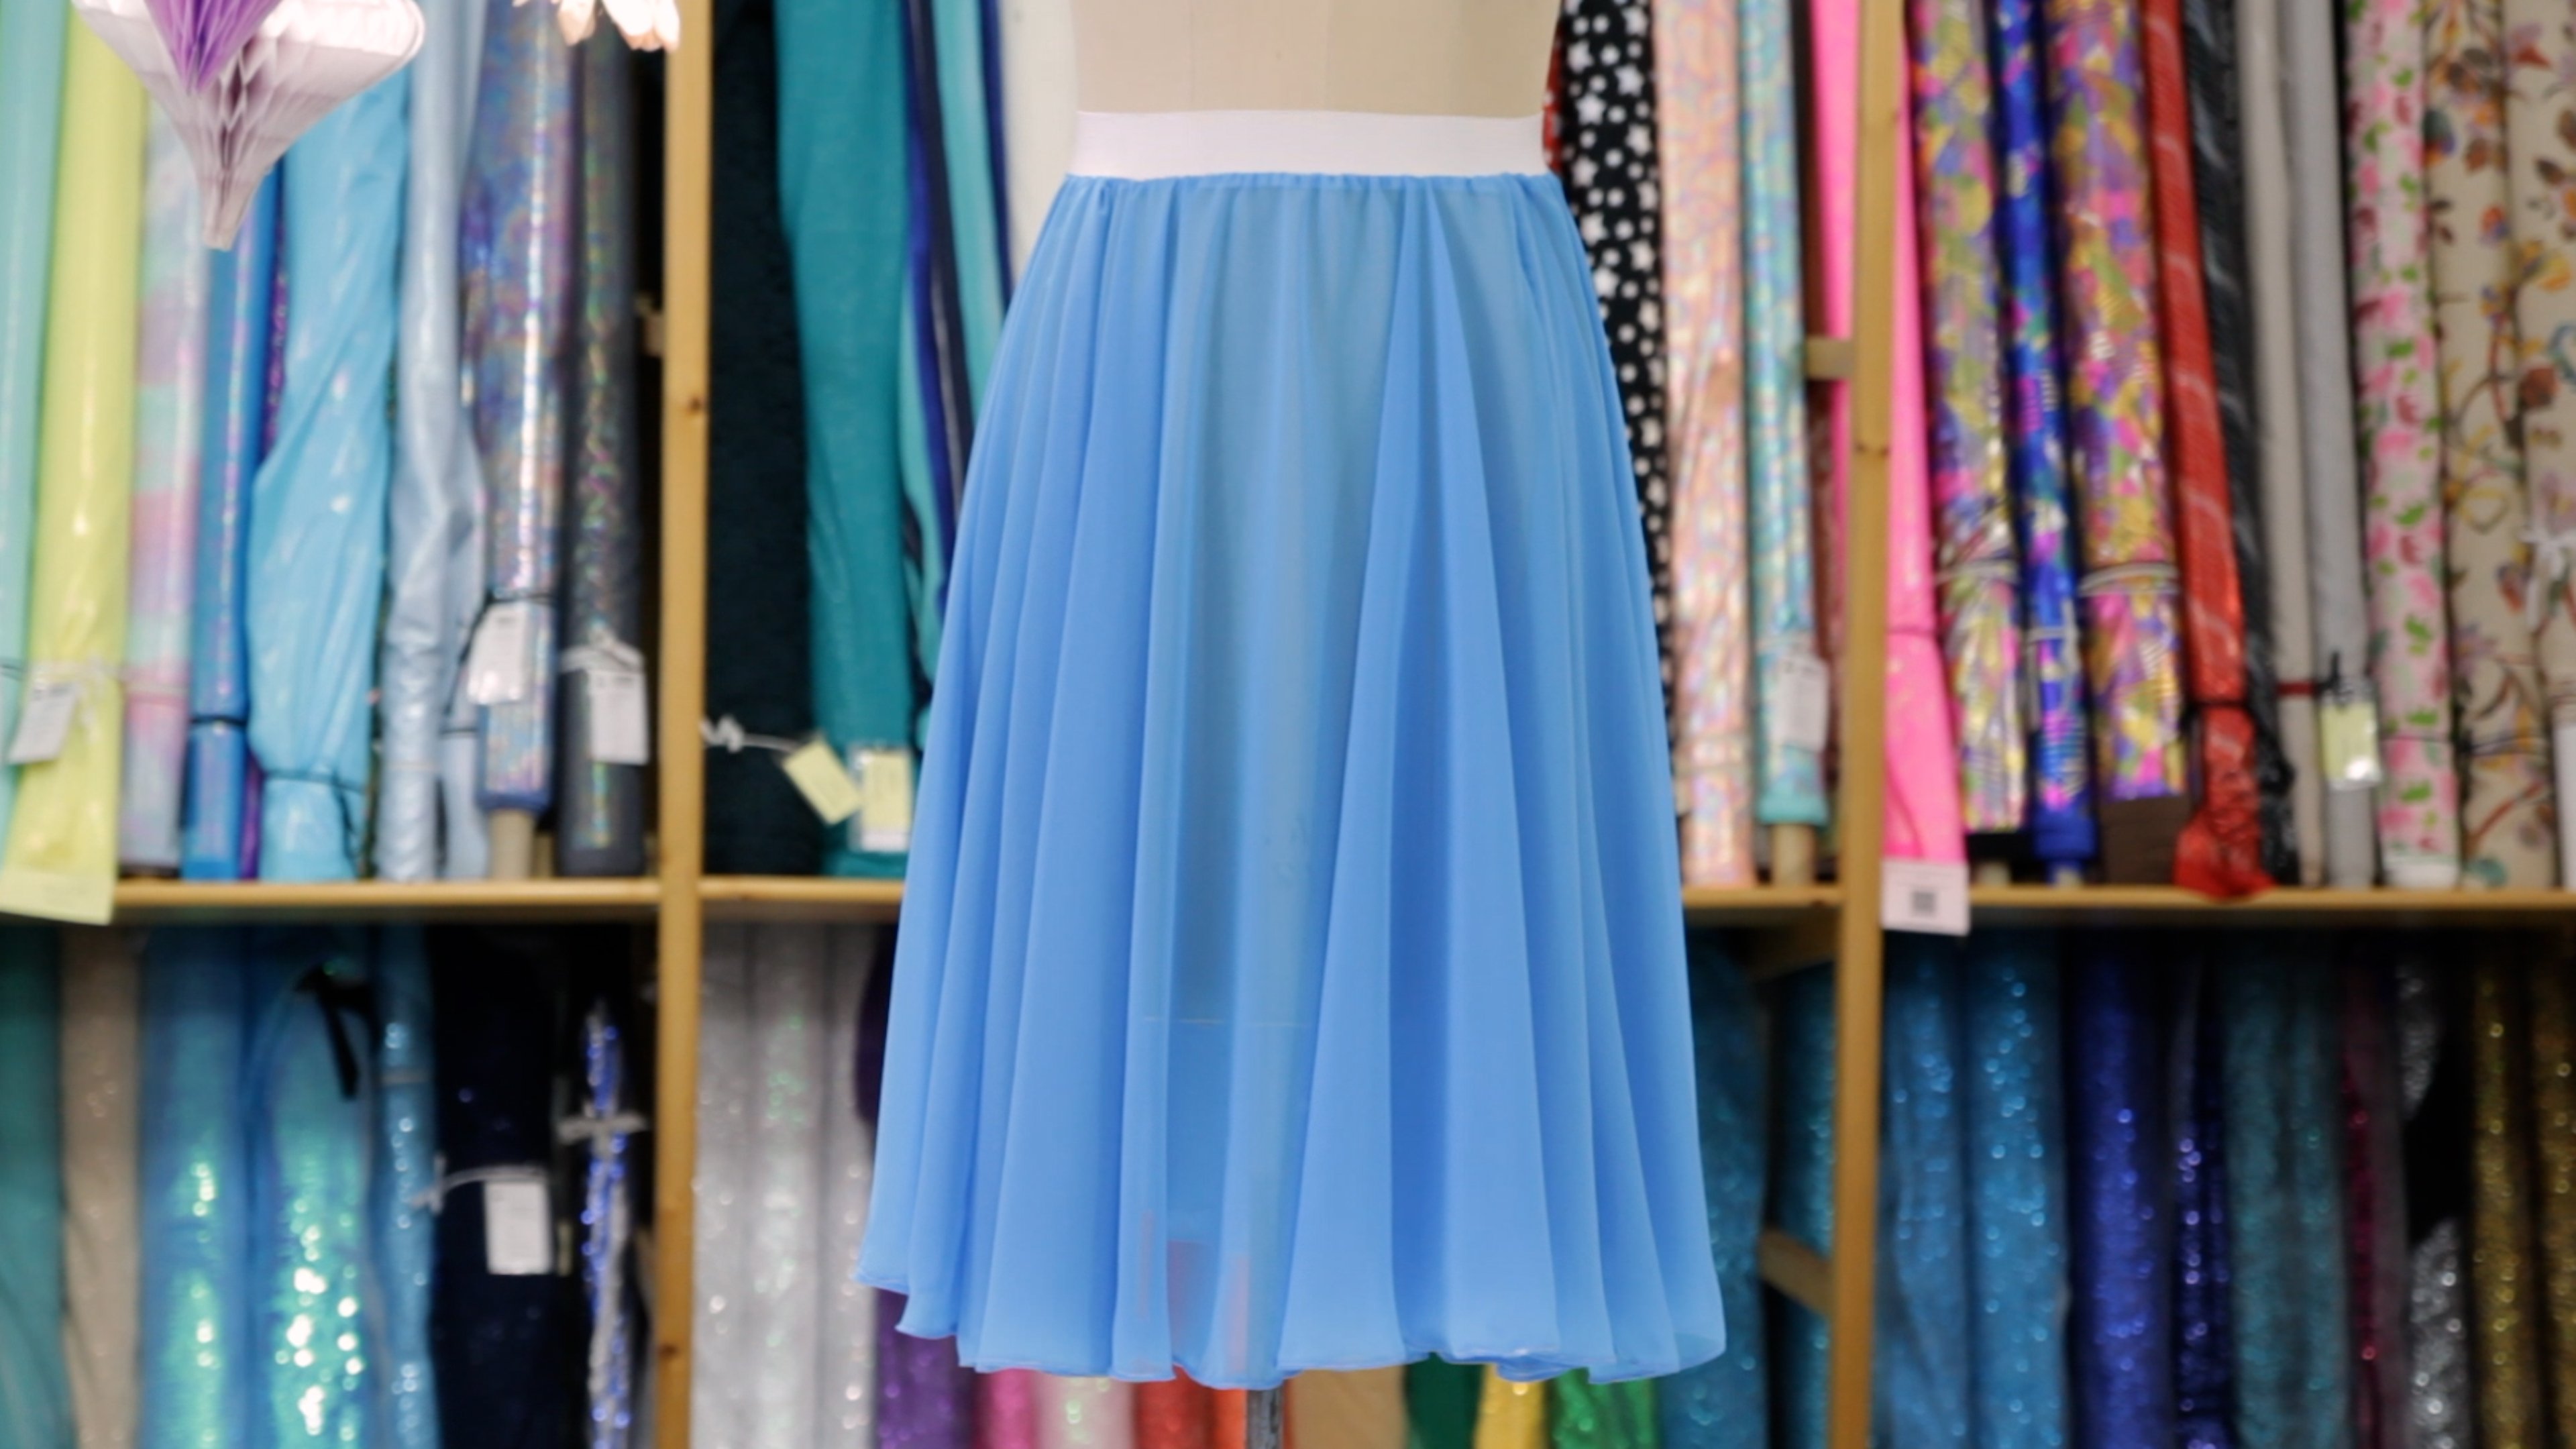
And that's it!
Your practice skirt is complete! There's plenty of ways to adapt and embellish this basic design, and this is far from the only construction method. Let us know how you'd adapt this technique, and if you create one of these, we'd love to see it! Tag us in your photos on Instagram, or send us a message on Facebook.
Don't forget to take a look at our circle skirt calculator below to figure out how to construct your pattern and how much fabric you'll need.
Circle Skirt Calculator
To help make things easy, we've created this circle skirt calculator! Simply enter your hip measurement and skirt length (including your seam allowance) and we'll figure out the correct hip radius and best pattern layout for your fabric.